Test GitHub Actions locally
Key takeaways
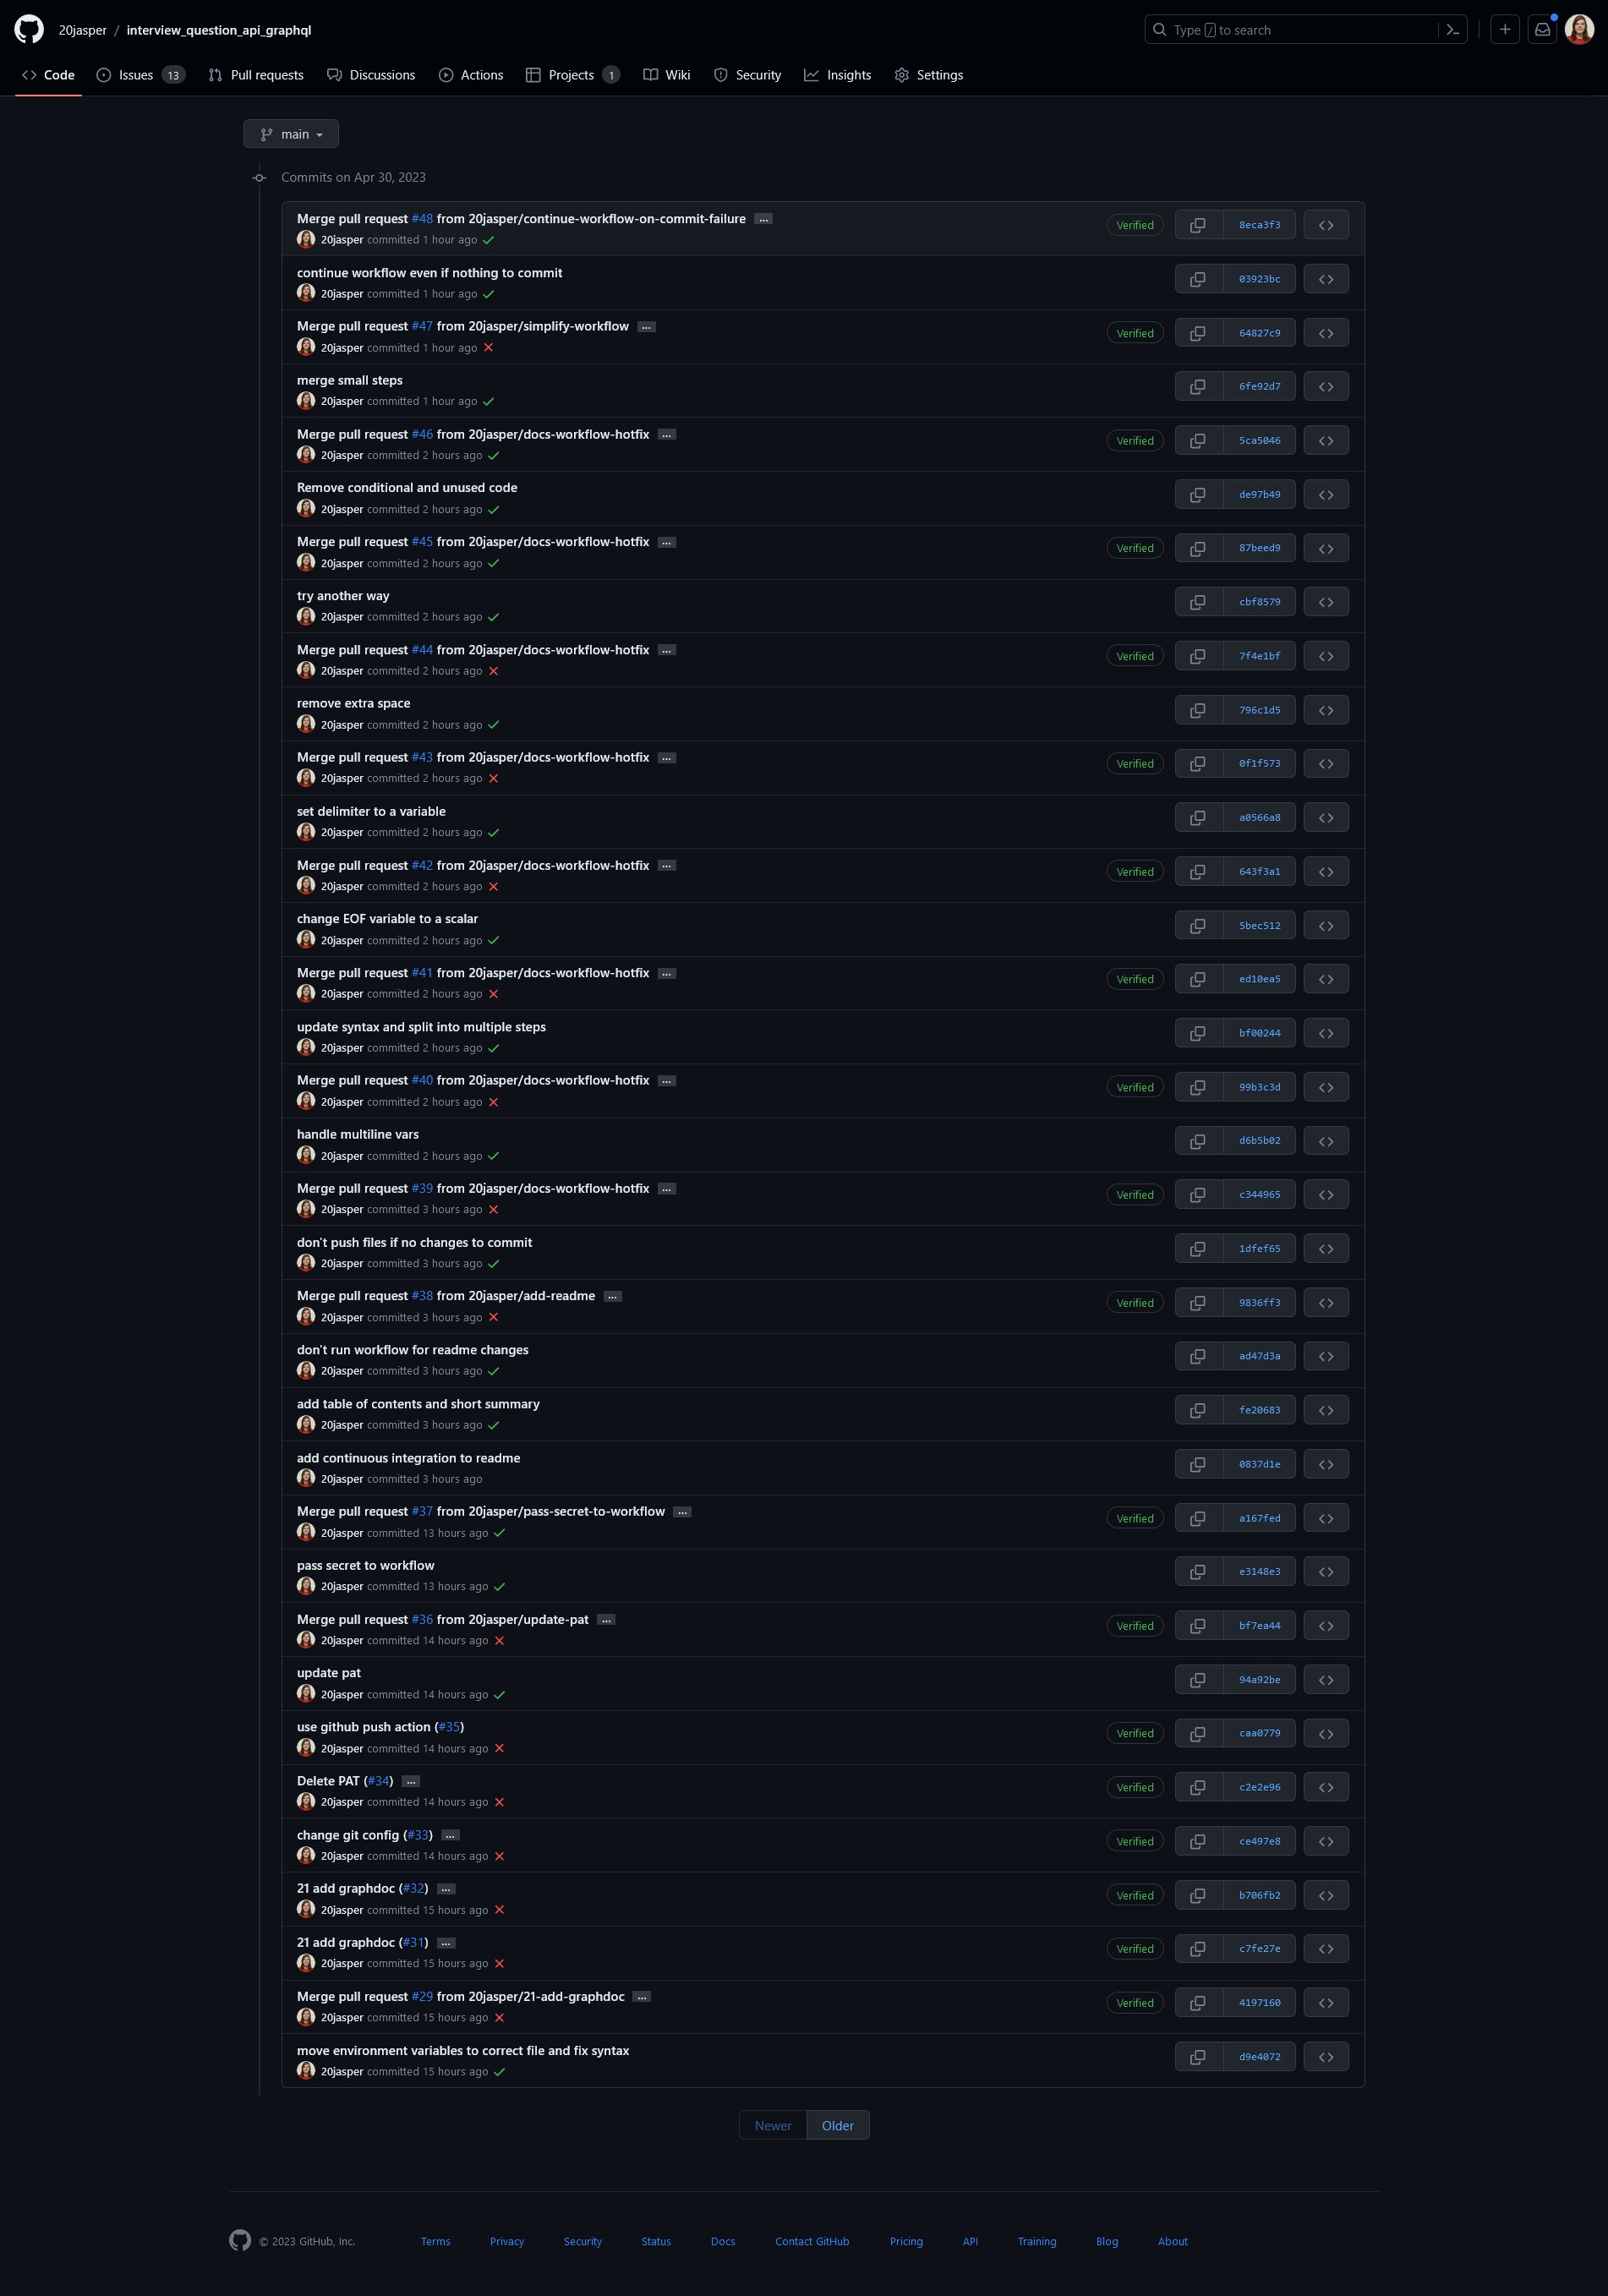
- I’ve done it, you’ve done it, you’re team member has done it: A dozen git commits that read
fix github action, for real this time - With
act, we have a solution to test GitHub Actions locally, no need to commit & push to GitHub (wait… what??) - Combine this with
devboxand anyone who works on your project is ready to go, no instructions required
Project source code
You can find the source code for this project in the mootoday/devbox-github-actions-locally GitHub repository. Please refer to PR #1 to see how you can configure Devbox to automate your development environment setup.
What’s the challenge with GitHub Actions?
A picture is worth more than a thousand words.

If you have ever worked with GitHub Actions, you know this too well 😅. In order to test your changes, you have to commit & push to GitHub. At that point, GitHub kicks off the action, prints the console output, and if something goes wrong, you read the error message and give it another go 🔄.
Not only does it take ages, it also eats into your free GitHbut Actions credits. Depending on the team culture you work in, you may even feel embarrassed because it takes so many commits to get it right. However, if that’s the case for you, rest assured this is not your fault and everyone around you has been in that situation. You’re doing great!
What if you could test GitHub Actions locally?
Just imagine… make a code change, run the action, see the output, debug, update the code, repeat.
I would not write this post if I did not have a solution 🙃, let’s dive in!
All you need is act, and devbox because life can be easy
First things first, meet act (GitHub repo). Definitely check out their documentation as it is extensive and answers many questions you may have once you get started.
To install act, their README lists many options. Pick what works for your environment.
In the next chapter, I will walk you through what this looks like with devbox, a command-line tool that lets you easily create isolated shells for development (GitHub repo).
If this is your first time hearing about Devbox, start by installing it with:
curl -fsSL https://get.jetpack.io/devbox | bashProject setup
This chapter documents how I work, with an automated development environment that works locally, on CI, and in production using Devbox. Feel free to jump to the “Configure act” chapter below to learn how to work with act.
In your project, initialize Devbox, add act as a dependency, and start a shell:
Initializing Devbox creates a devbox.json file with a variety of options (reference) and a devbox.lock file similar to what package-lock.json does in the Node.js ecosystem:
devbox initNext, let’s add the necessary dependencies: act and colima (I’ll talk about that in a sec):
devbox add act colimaWe know what act is, but what about colima? From their GitHub repository: Colima - container runtimes on macOS (and Linux) with minimal setup.
In other words: You can use it to run Docker containers, which act will do behind the scenes. If you wonder why I do not use Docker, it is because I can easily automate colima thanks to Devbox. This means, people who work on my projects don’t have to do anything related to Docker (no installation, no configuration, no startup).
Lastly, we want colima to start up automatically. To do that, edit devbox.json so it matches the following:
{
  "packages": [
    "act@latest",
    "colima@latest"
  ],
  "shell": {
    "init_hook": [
      "colima start &"
    ]
  }
}
With that, we have a fully configured project. Commit devbox.json and devbox.lock to your version control system so others can benefit.
To use the configuration, you start a Devbox shell with the following command:
devbox shellThis installs the necessary dependencies and runs the init_hook we configured in the devbox.json file. In other words: devbox shell and you are good to go – and so is anyone else who contributes to your project 🤯.
Configure act
The code in this chapter is based on the github-actions-demo repository and assumes your project uses Node.js. Adjust accordingly to fit your needs.
Let’s start by creating a new GitHub Actions workflow in your project at .github/workflows/tests.yml:
name: Run tests
on: push

jobs:
  test:
    runs-on: ubuntu-latest
    steps:
    - uses: actions/checkout@v2
    - uses: actions/setup-node@v3
    - run: npm install
    - run: npm test
That’s all 🎉! Run act in your terminal and it’ll execute the above workflow.
Possible error: Error: Cannot connect to the Docker daemon
You may run into the following error:
(devbox) m@x github-actions-demo % act
WARN  ⚠ You are using Apple M-series chip and you have not specified container architecture, you might encounter issues while running act. If so, try running it with '--container-architecture linux/amd64'. ⚠
[CI/test] 🚀  Start image=node:16-buster-slim
[CI/test]   🐳  docker pull image=node:16-buster-slim platform= username= forcePull=true
Error: Cannot connect to the Docker daemon at unix:///var/run/docker.sock. Is the docker daemon running?
If that is the case, you can fix it by exporting the correct DOCKER_HOME environment variable:
export DOCKER_HOST="unix://${HOME}/.colima/default/docker.sock"If you use Devbox as documented in the “Project setup” chapter above, add the environment variable to the env object in devbox.json:
{
  "packages": [
    "act@latest",
    "colima@latest"
  ],
  "env": {
    "DOCKER_HOST": "unix://${HOME}/.colima/default/docker.sock"
  },
  "shell": {
    "init_hook": [
      "colima start &"
    ]
  }
}
👋
